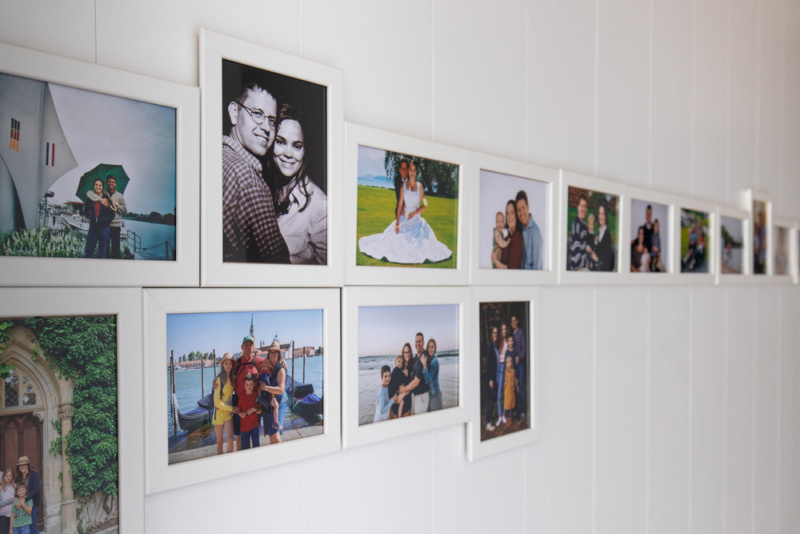
Each year, I make sure I capture at least one frame-worthy family photo. You know the ones, staged, where everyone is looking at the camera, the type of photos Grandmas’ love to receive. This is the picture that lands on my Christmas card each year, showing how we’ve aged over the past twelve months. But what happens to those photos after the Christmas cards land in the recycling pile? A few years ago, inspired by Gretchen Rubin and Elise Blaha Cripe, I decided to print and frame them, displaying them in a chronological line in the hallway leading to our bedroom.
In the past, I’ve found creating photo walls challenging. Deciding which frames, how to space them and which photos go together is not my speciality. However, just like my simple solution for creating an annual family photo book, I knew simplicity was the key to the success of this photo project. The photo selection process was made simpler because of the filter of choosing just one family photo per year. I stocked up on basic, affordable white frames and stuck to uncomplicated display I could easily add to as the years’ past. The result is something that genuinely brings my heart so much joy every time I pass by.

Want to make a chronological family photo wall? Here is my process:
1. Choose one family photo per year
First, you will need to decide which year your display will begin. Does it start with you and your partner meeting like it does for us? Or maybe it’s your wedding day, the birth of your first kid or even your own birth? When you have a starting year, go through your photo collection and choose one family photo from each year. Easy.
2. Choose your Frame
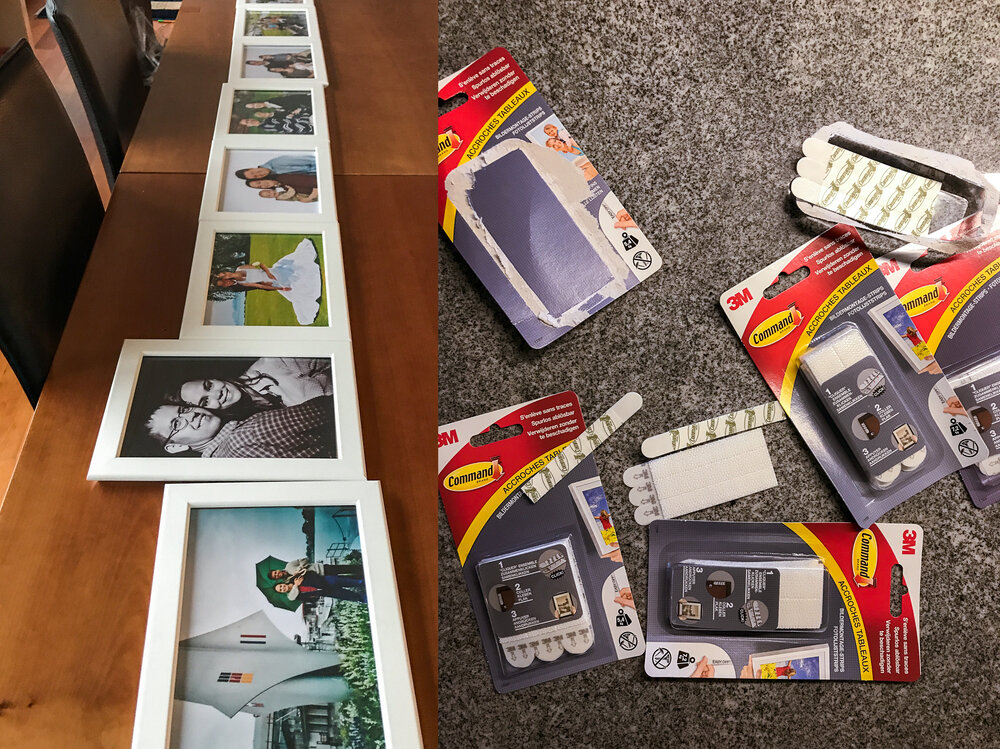
Inspired by an old photo wall from Elise, I knew I wanted to use these simple white photo frames from Ikea. Not only are they minimalistic and help keep the focus on the photos, but they are also very affordable and light! Lightweight frames are essential to me as I wanted to avoid drilling holes by using adhesive instead. When choosing a frame, do consider the length of your wall and the orientation your photos are.
3. Print your Photos
This step is simple and requires you to know the size of your photo frame before uploading to your favourite printer. For this project, I decided to use the local company iFolor and was happy with the results.
4. Put it all together
Once your photos are printed, and frames are purchased, it is time for the fun part, putting it all together. Pop each photo into the Fram and get ready to hang.
5. Hanging your gallery
I decided to avoid drilling holes into the wall as I know this would be another barrier in not hanging my frames. So I’ve gone with simple command adhesive strips that enabled me to go from photo to gallery in less than an hour. Before using these strips, make sure they are suitable for your wall.
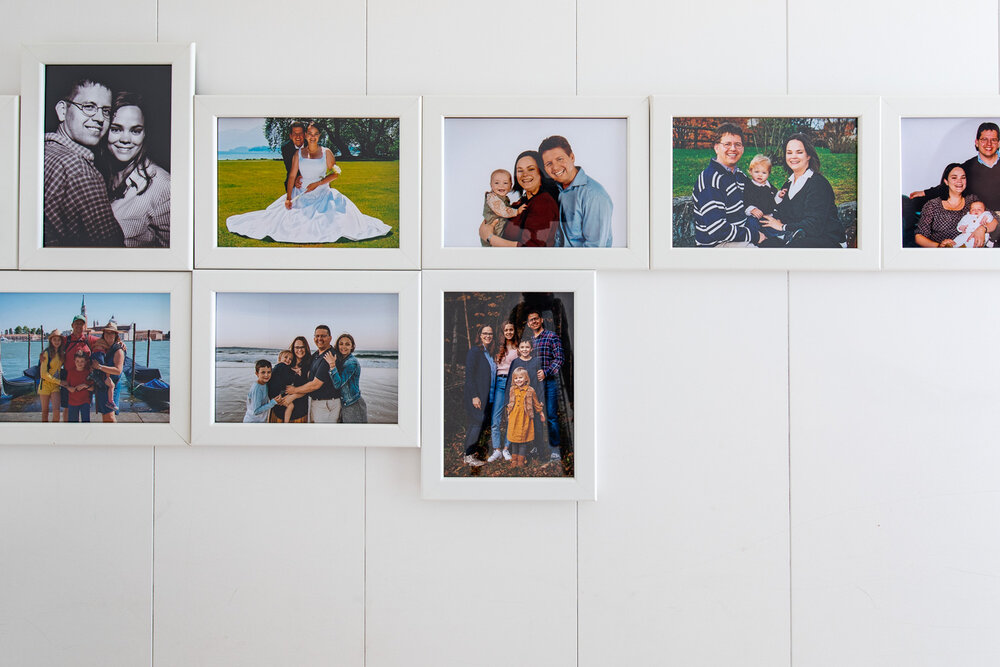
As to the layout, I decided to keep it as simple as possible and have no spaces in-between the frames. All I have to do is make sure that the first frame is straight, thanks to lining it up again the wall, and measuring off that as I go along. If you want to be 100% sure your gallery is straight, considering using painters tape and a level to make a straight line.
6. Continue the tradition
Keeping the wall of photos going year after year is as simple as printing your family photo and popping it into a frame. If you want to be 100% sure your frames will be available year after year, you may want to go ahead and pre-purchase enough frames for your intended pattern. I have enough to create two rows of photos which should bring us well into Little Z’s teenage years.
I am ever so happy with the results and love looking at how our little family has grown over the past 18 years.